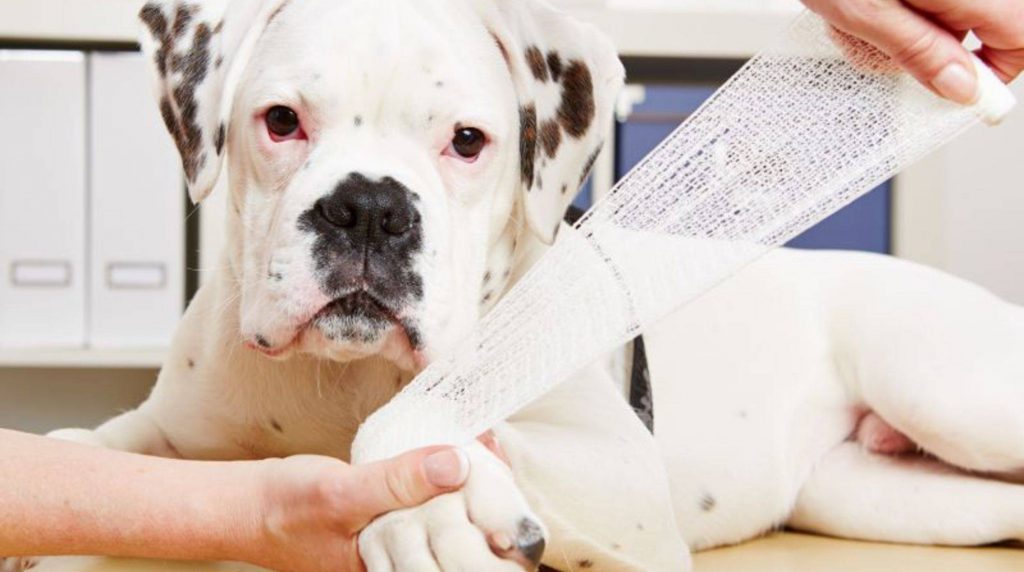
Whether after an injury from broken glass or road salt – almost every dog owner finds himself having to put on a paw bandage. Find out here how to treat your dog correctly.

Even if you can put on a temporary paw bandage yourself in an emergency, you should typically always consult your veterinarian first. He might even show you how to bandage your dog in a quiet moment professionally.
The necessary equipment for the paw bandage
What you need for the association:
● sterile wound dressing
● cotton wool
● Bandage material
● medical tape or band-aids
● possibly a paw shoe, sock or plastic bag
Let us help you
Before you start bandaging your paws, it’s best to get some hands-on help to calm and gently hold your dog while healing his injury.
Protect yourself and your helper
If your dog reacts sensitively when you approach an injury to the paw or other body parts, you should first secure your four-legged friend’s mouth. Whether it’s a snare, cloth or something else: keep an eye out for a suitable utensil.
Important: pad your toes
Place the sterile dressing on the wound and then pad the space between all the toes with cotton, including the claw of the thumb. This step is crucial to ensure that your dog’s toes continue blood circulation and that no pressure points can develop from the neighbouring toes.
Adequately protect the dog’s paw.
Then wrap the entire paw with cotton, which must not contact the wound under any circumstances. Therefore, make sure that the wound dressing fits well and does not slip. Now fix the cotton with the actual bandage, which should go beyond the joint. This way, it lasts longer and doesn’t constrict blood vessels.
Secure the paw bandage
Secure the paw bandage with adhesive plaster or tape and preferably pull a paw shoe or sock over it – alternatively, a plastic bag can be used so that the application does not get wet.
Tip: You can find out how to prevent paw injuries in your dog in this guide.


